Location
Northwest Side, Chicago, IL — a 1,450 sq ft brick ranch built in 1962 with a full poured-concrete basement.
A 1960s Chicago ranch with chronic seepage and standing water, fixed in two days with interior drain tile, a sump system and full wall sealing.
The Hayes family called us after the third flooded winter in a row. Here is the short version of the job.
Northwest Side, Chicago, IL — a 1,450 sq ft brick ranch built in 1962 with a full poured-concrete basement.
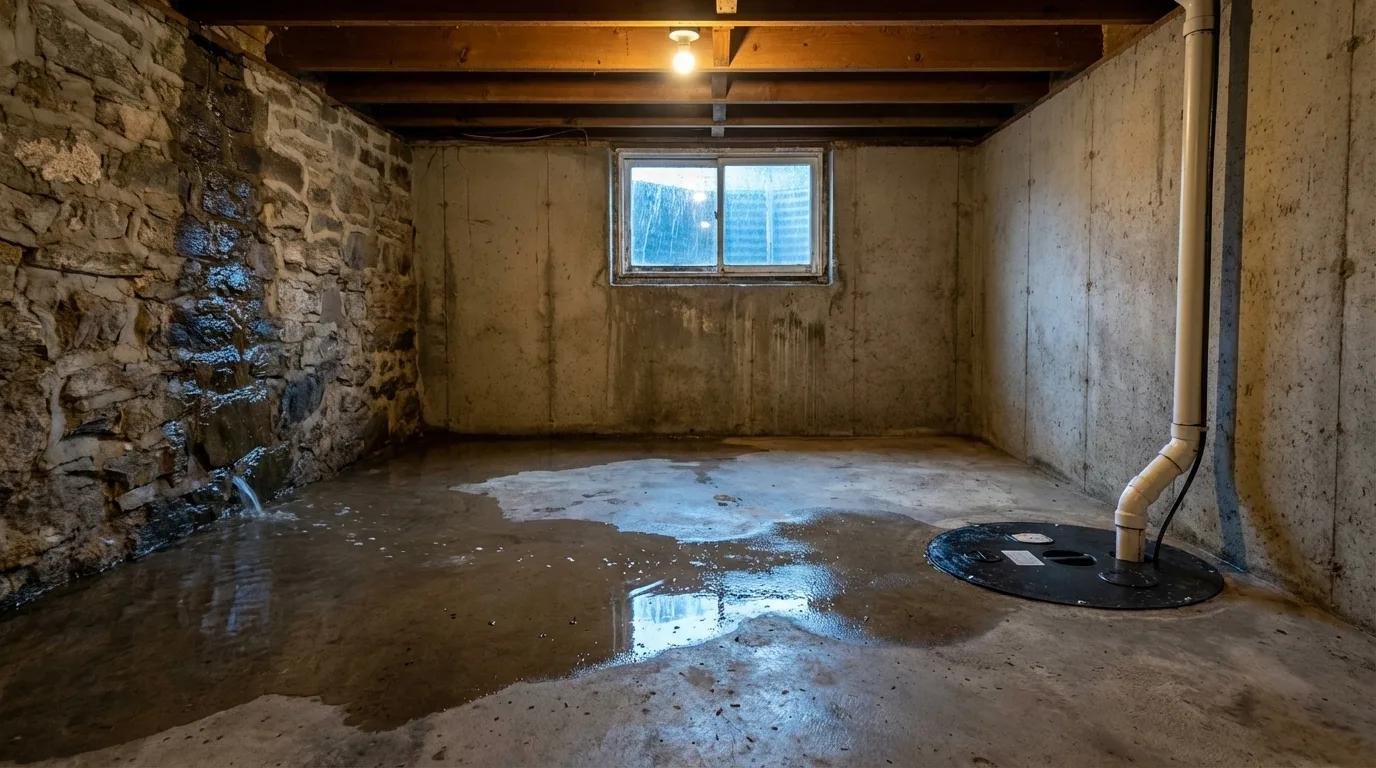
Hydrostatic pressure was pushing groundwater through the wall-floor joint, leaving 3 inches of standing water after heavy rain.
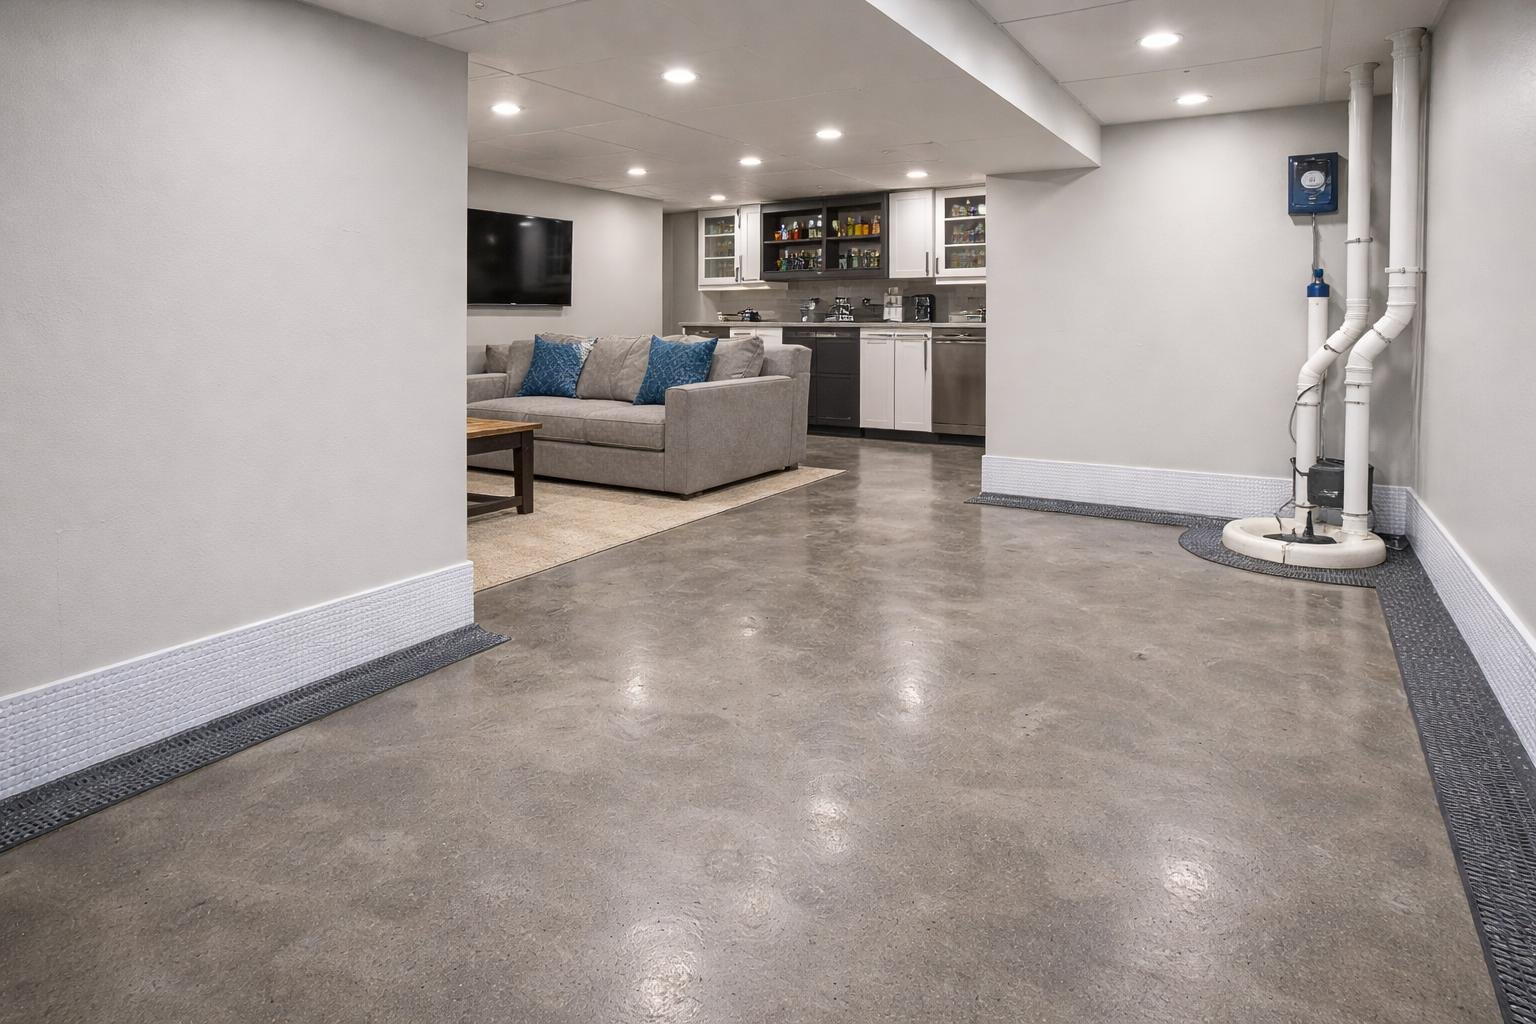
Interior perimeter drain tile, dual-pump sump system with battery backup, and a sealed vapor-barrier wall system.
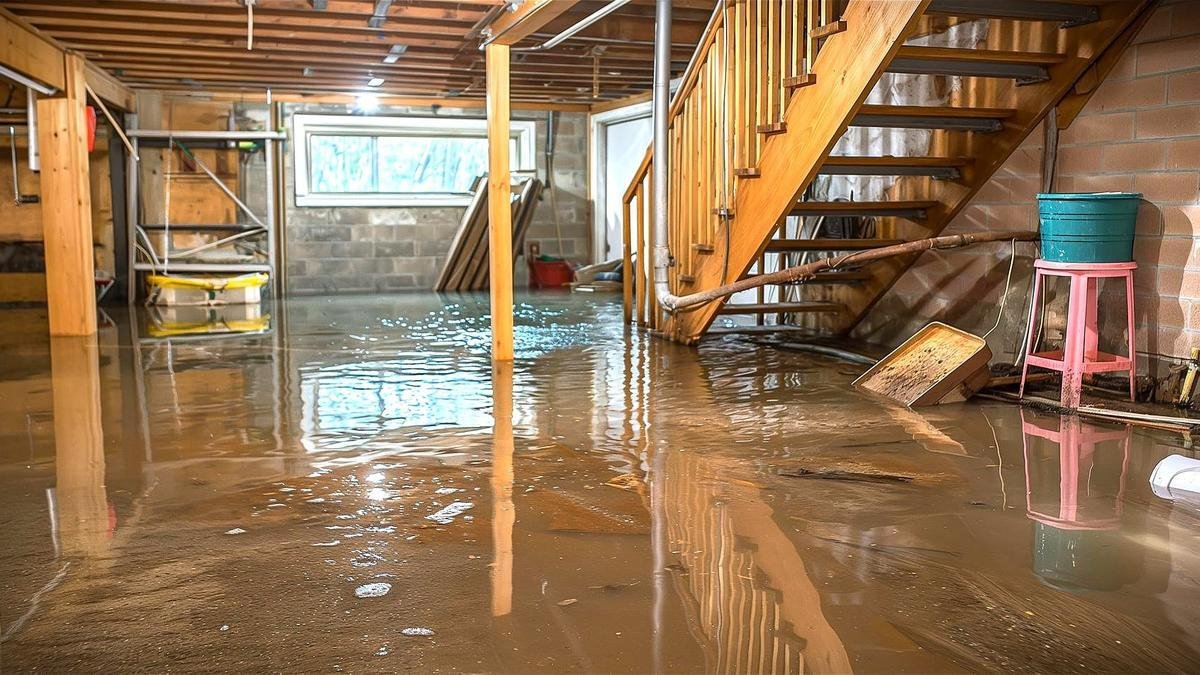
Three inches pooled along the north wall after a 1-hour rain, with a damp odor and efflorescence on the block.
Tap a marker to read each finding.
A moisture meter and thermal scan traced every leak back to one cause: water pressing up under the slab with nowhere to go.
Drag the handle to compare the basement floor before and after the repair.

Cleared the room and cut a trench along the floor perimeter.
Day 1 · morningLaid 140 ft of perforated drain tile in clean gravel.
Day 1 · afternoonInstalled a new pit, primary pump and battery backup.
Day 1 · eveningSealed cracks and fitted a vapor-barrier wall panel system.
Day 2 · morningFlooded the pit to prove the pumps, then restored the floor.
Day 2 · afternoonIt stormed the week after the crew left. The basement stayed bone dry, and the kids finally have a playroom again.
Epoxy injection and carbon-fiber straps stopped wall movement in one day.
View projectDrain tile and a sump system protect a newly finished family room.
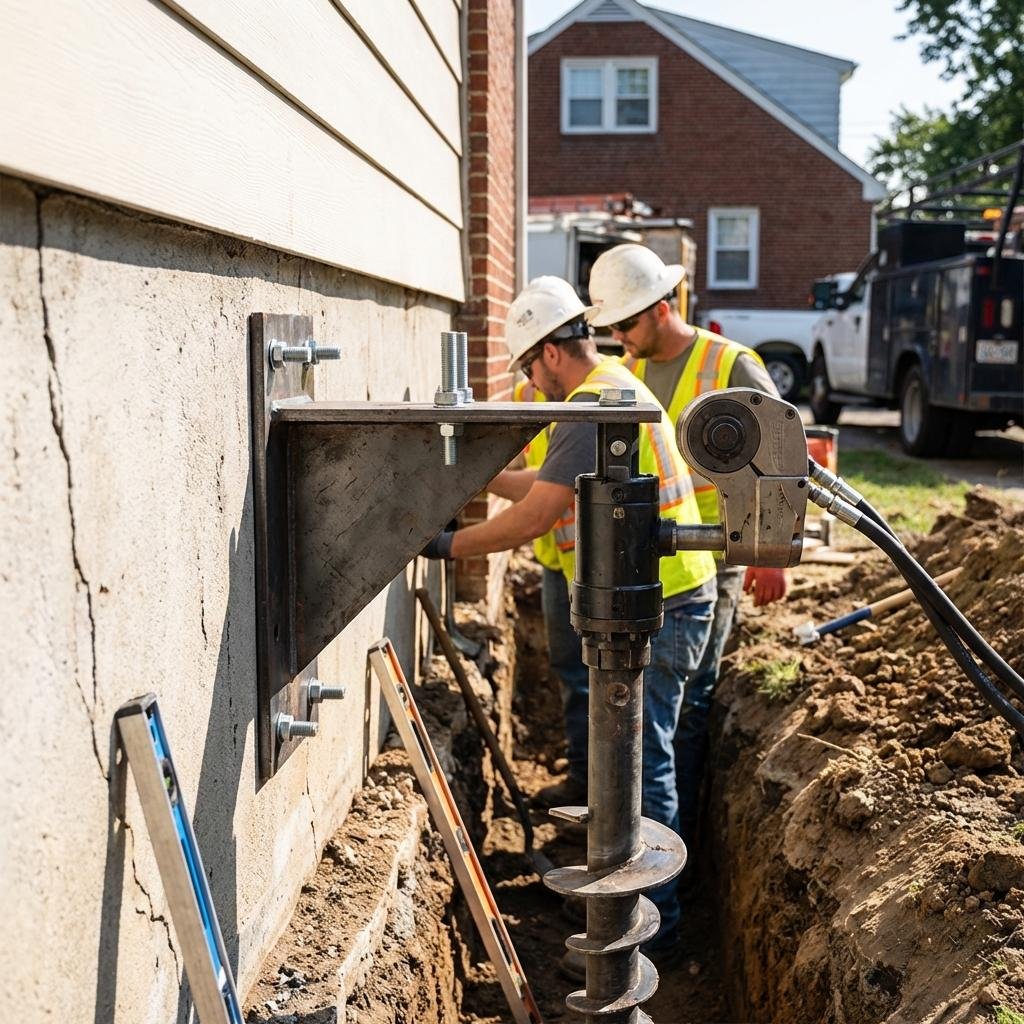
View projectSteel piers lifted and leveled a sinking corner of the foundation.
View projectBook a free inspection. We’ll find the cause, explain your options and give you a written estimate.